Getting Started
In this guide you will learn how to use Nuitrack Analytics platform to collect analytical information about your audience.
Before you start, make sure that you have the following:
- Personal account at Nuitrack Analytics. If you have no account, start a free trial;
- Windows or Linux PC;
- USB-camera connected to the PC or access to the IP-camera.
Now you're ready to get started with Nuitrack Analytics.
Run on your camera#
- Download Nuitrack Agent installer for your platform:
Once the download is complete, install Nuitrack Agent.
Open the folder with the saved installer and run the installer.Note: If you use Linux, you might need to set up the execution permission for the installer before running.
To set up the execution permission to the installer, follow these steps:
- Go to the directory, where Nuitrack Agent installer is downloaded to, and click right button on the
NuitrackAgent_Linux_x64.runfile. - Open Properties, go to the Permission tab, and check Allow execute checkbox.
You'll see a standard installation wizard. Follow the wizard's instructions.
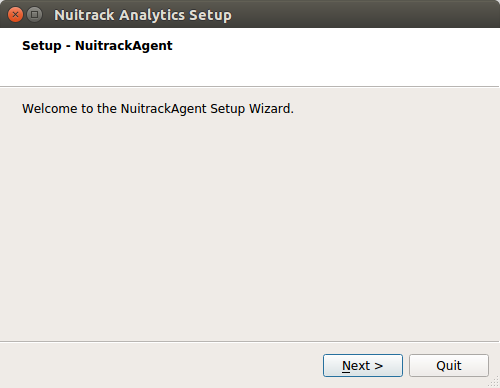
- Go to the directory, where Nuitrack Agent installer is downloaded to, and click right button on the
Once the installation is complete, run Nuitrack Agent using icon on your desktop.
Nuitrack Agent activation page will appear in your web-browser.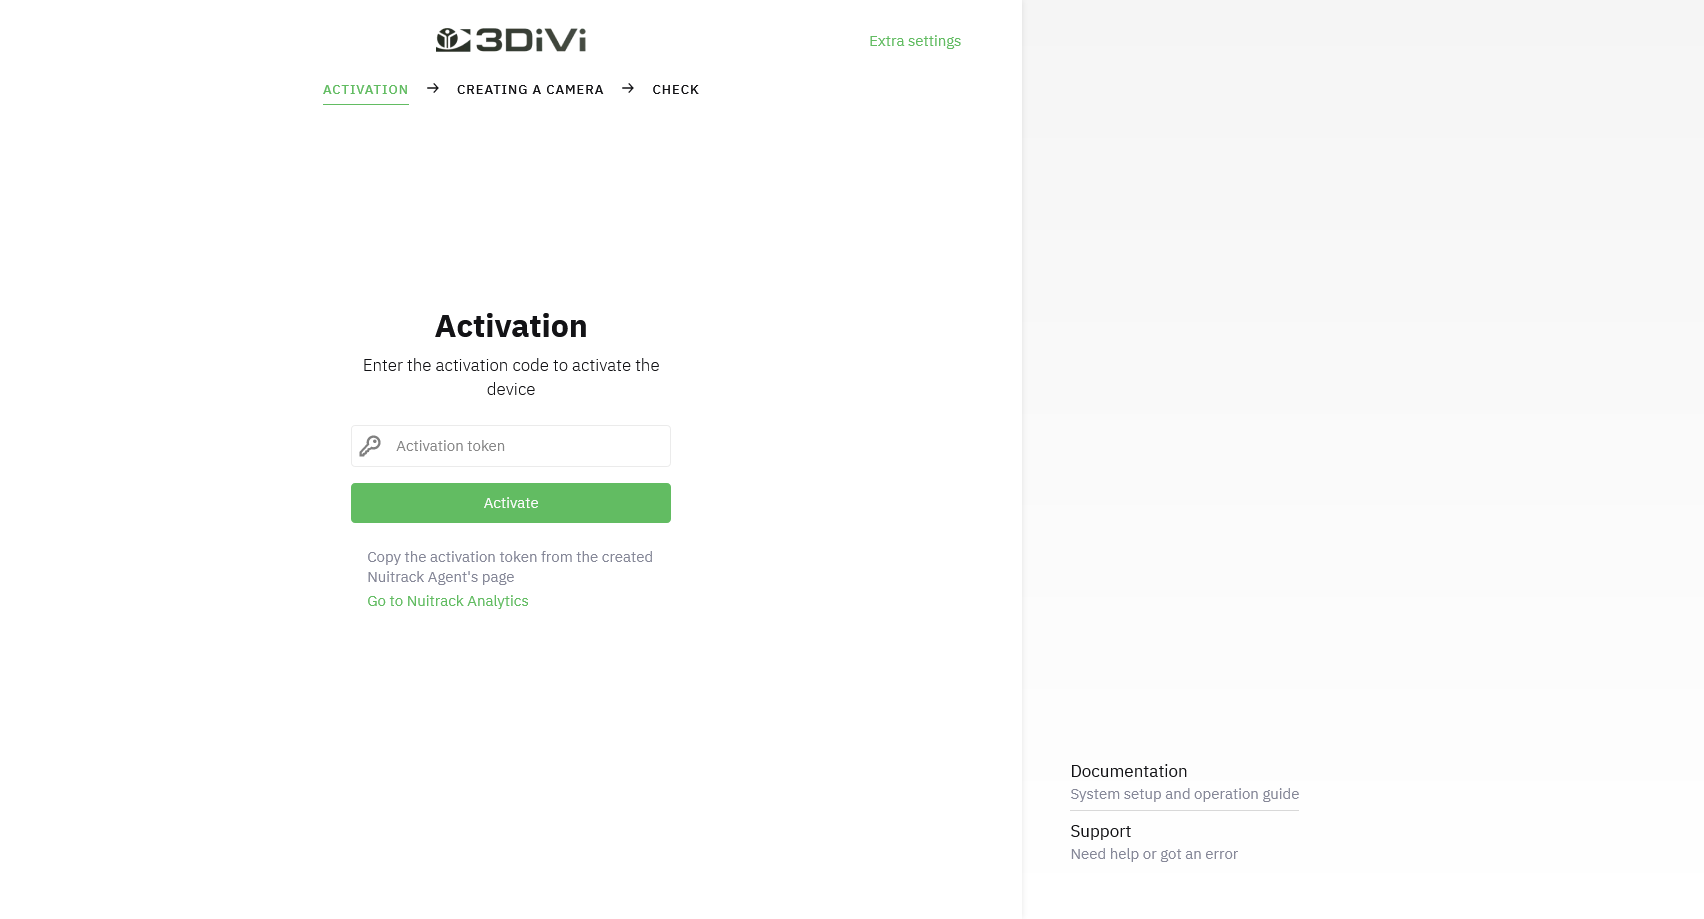
Create a new agent in Nuitrack Analyitcs to get the activation token.
Go to Nuitrack Analytics and click "+" button on the "Nuitrack Agents" card.
Then assign a name to the agent and click "Create" button.Copy the activation token to Nuitrack Agent activation form and click "Activate" button. As a result, you'll see camera configuration page.
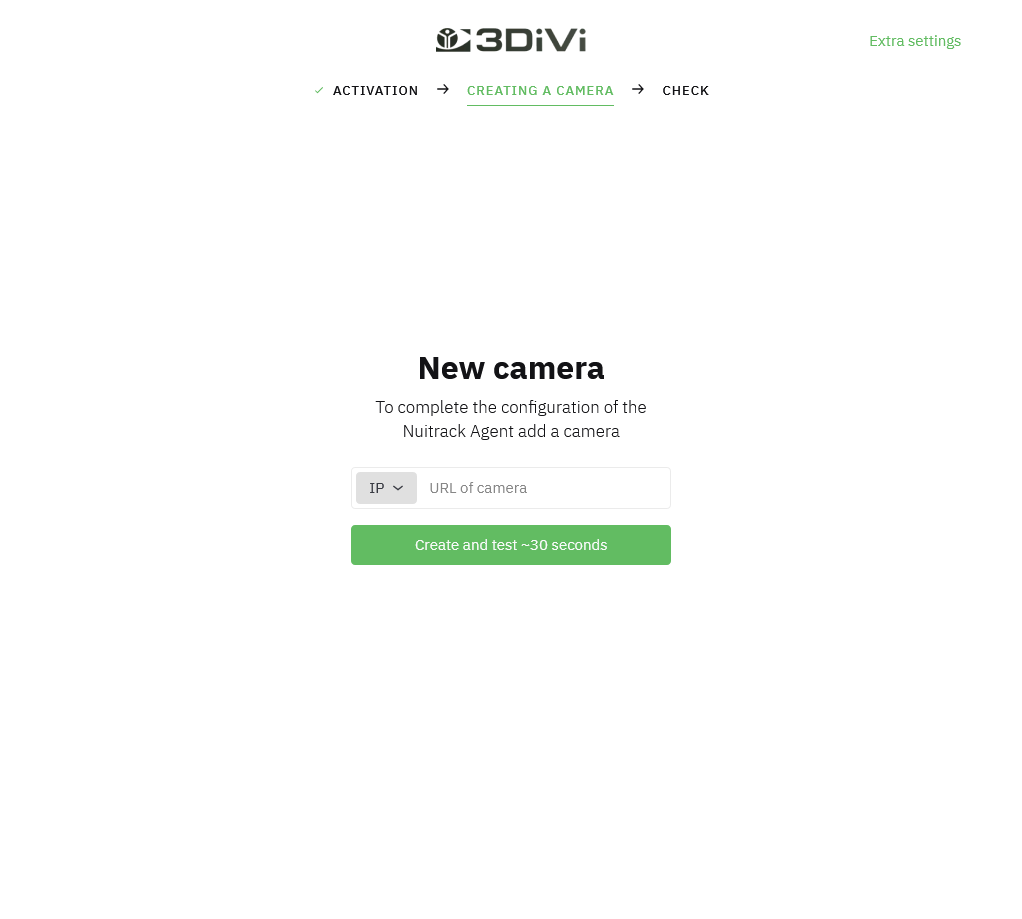
Configure a camera:
- To use a web camera, choose "USB" in the camera configuration field and enter a camera ID that was assigned to the camera by the OS (equals to 0 if you have one camera);
- To use an IP camera, enter a camera URL.
To apply settigs, click "Create and test" button, you'll see the camera checking page.
To show the preview form the camera, click "Open a preview" button. A preview will appear after configuring the nuitrack agent. If a person's face is visible, you'll see detected persons and their age, gender, and emotions.
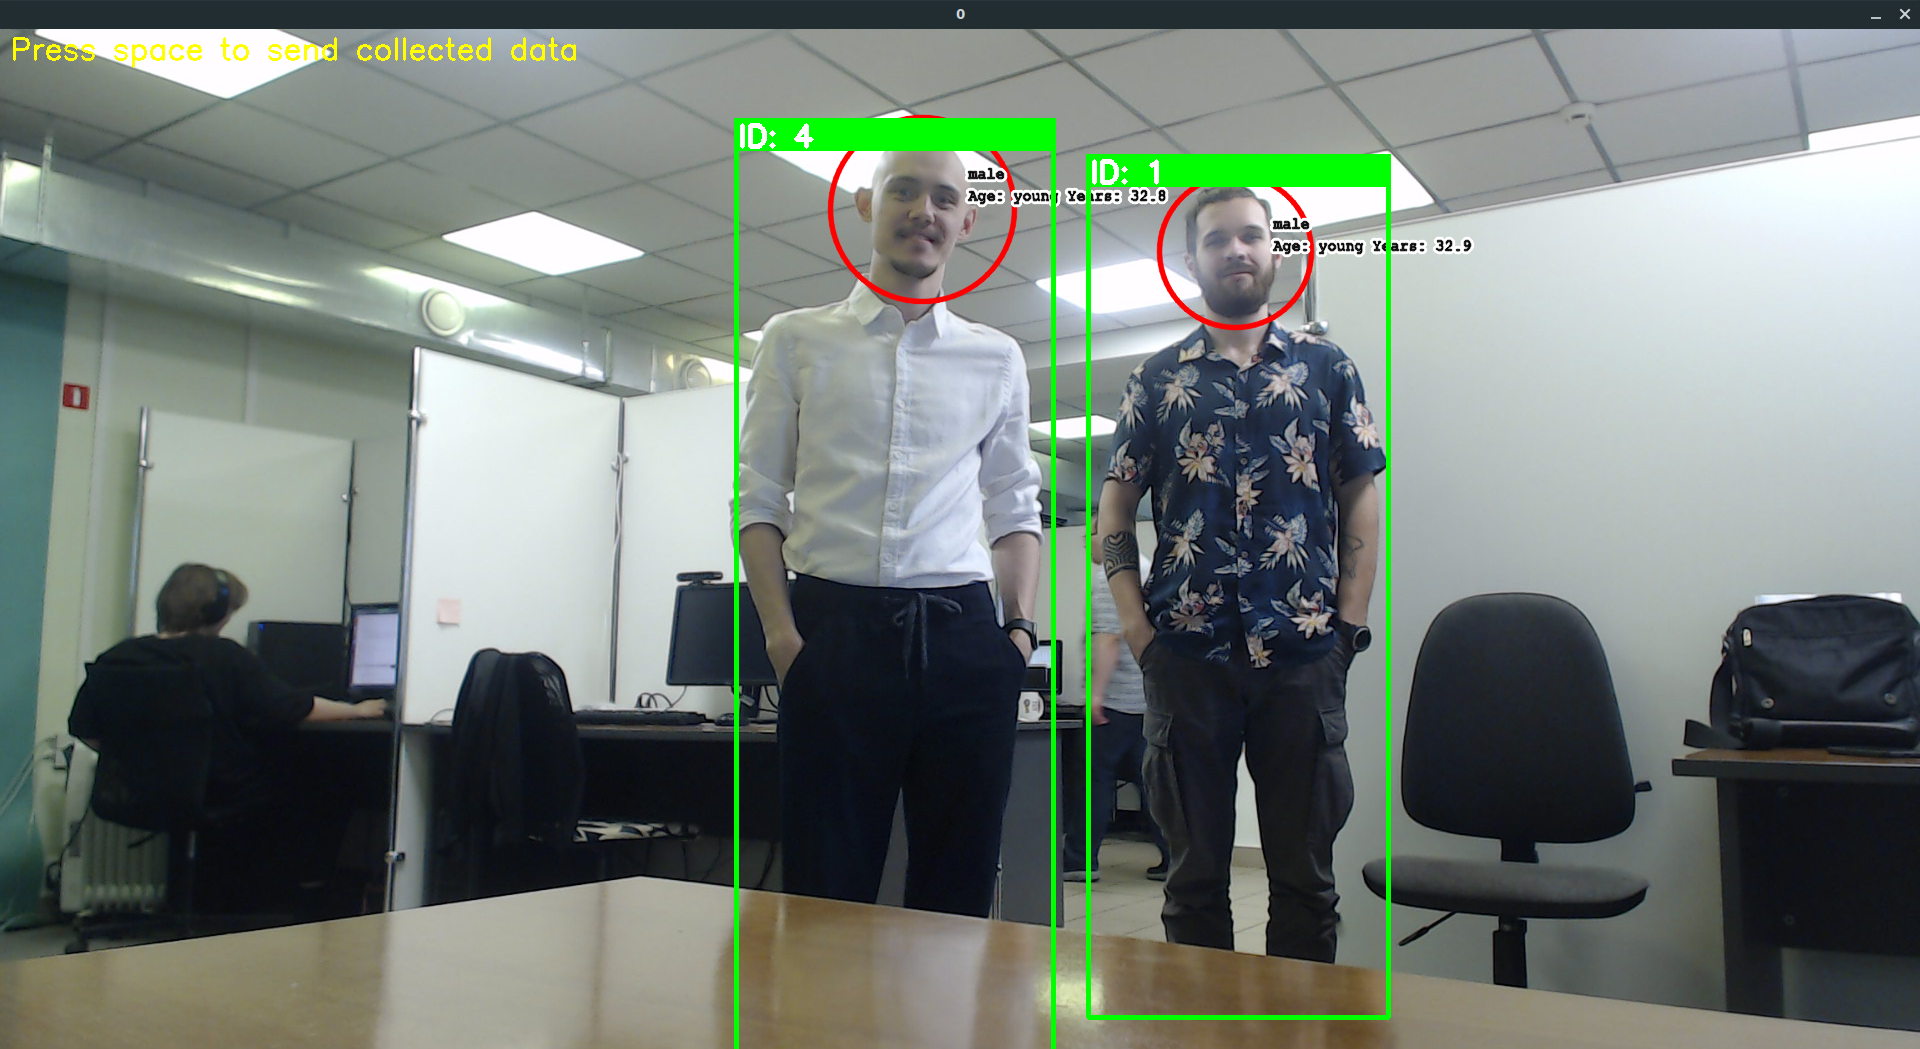
Press "space" to force sending the collected data to Nuitrack Analytics (by default the data will be sent when a person leaves the frame). To see the data on latest visits, go to the "Persons" page at Nuitrack Analytics.

To save the camera settings, go to the Nuitrack Agent configuration page and click "Finish setting up" button. You'll see the Nuitrack Agent status page.
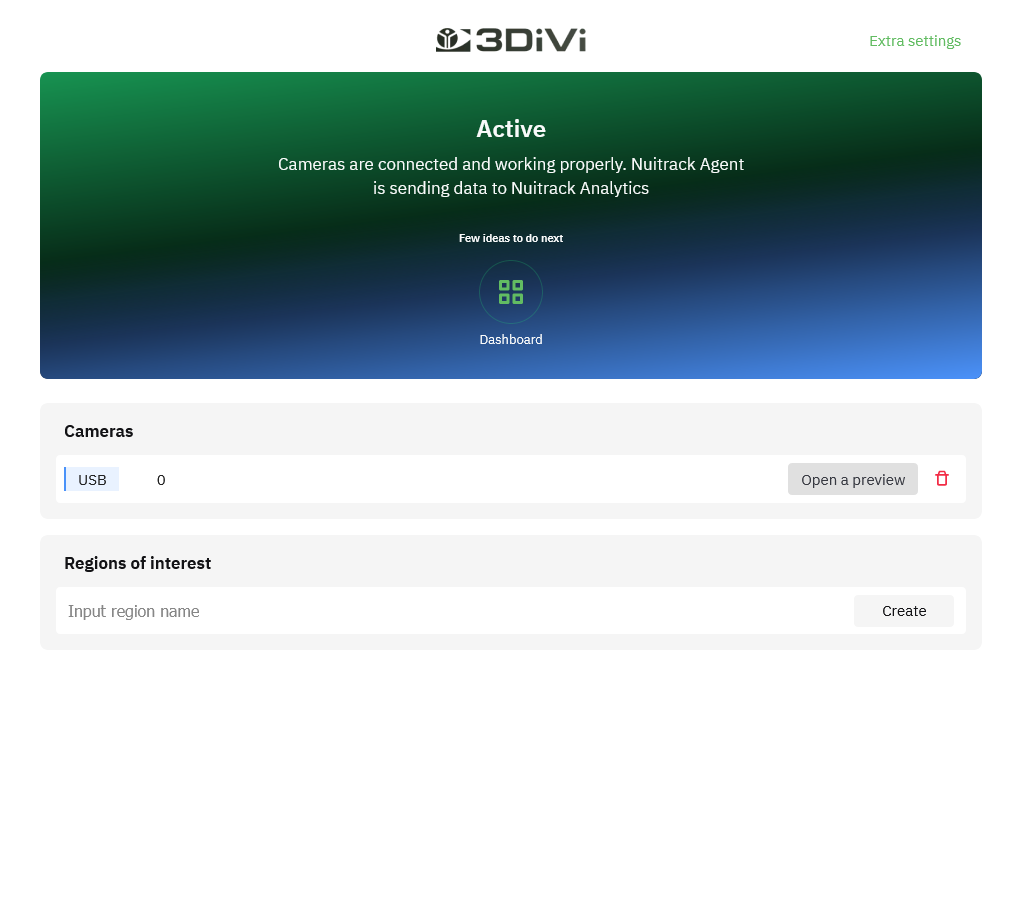
Get analytics#
Once the data on latest visits is obtained in Nuitrack Analytics, you're ready to analyze your audience. To visualize traffic data, we use Kibana Dashbord.
To open Kibana Dashboard, go to Nuitrack Analytics and click "Go to Kibana" button at the "Visual Analytics" card.
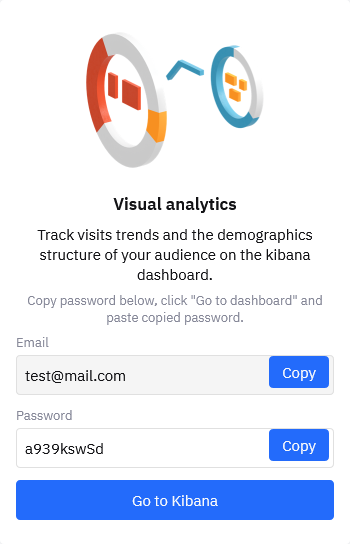
Log in to Kibana Dashboard using your email and password from the "Visual Analytics" card. You'll see charts with the number of unique, new and repeat visitors, as well as the audience age and gender structure.
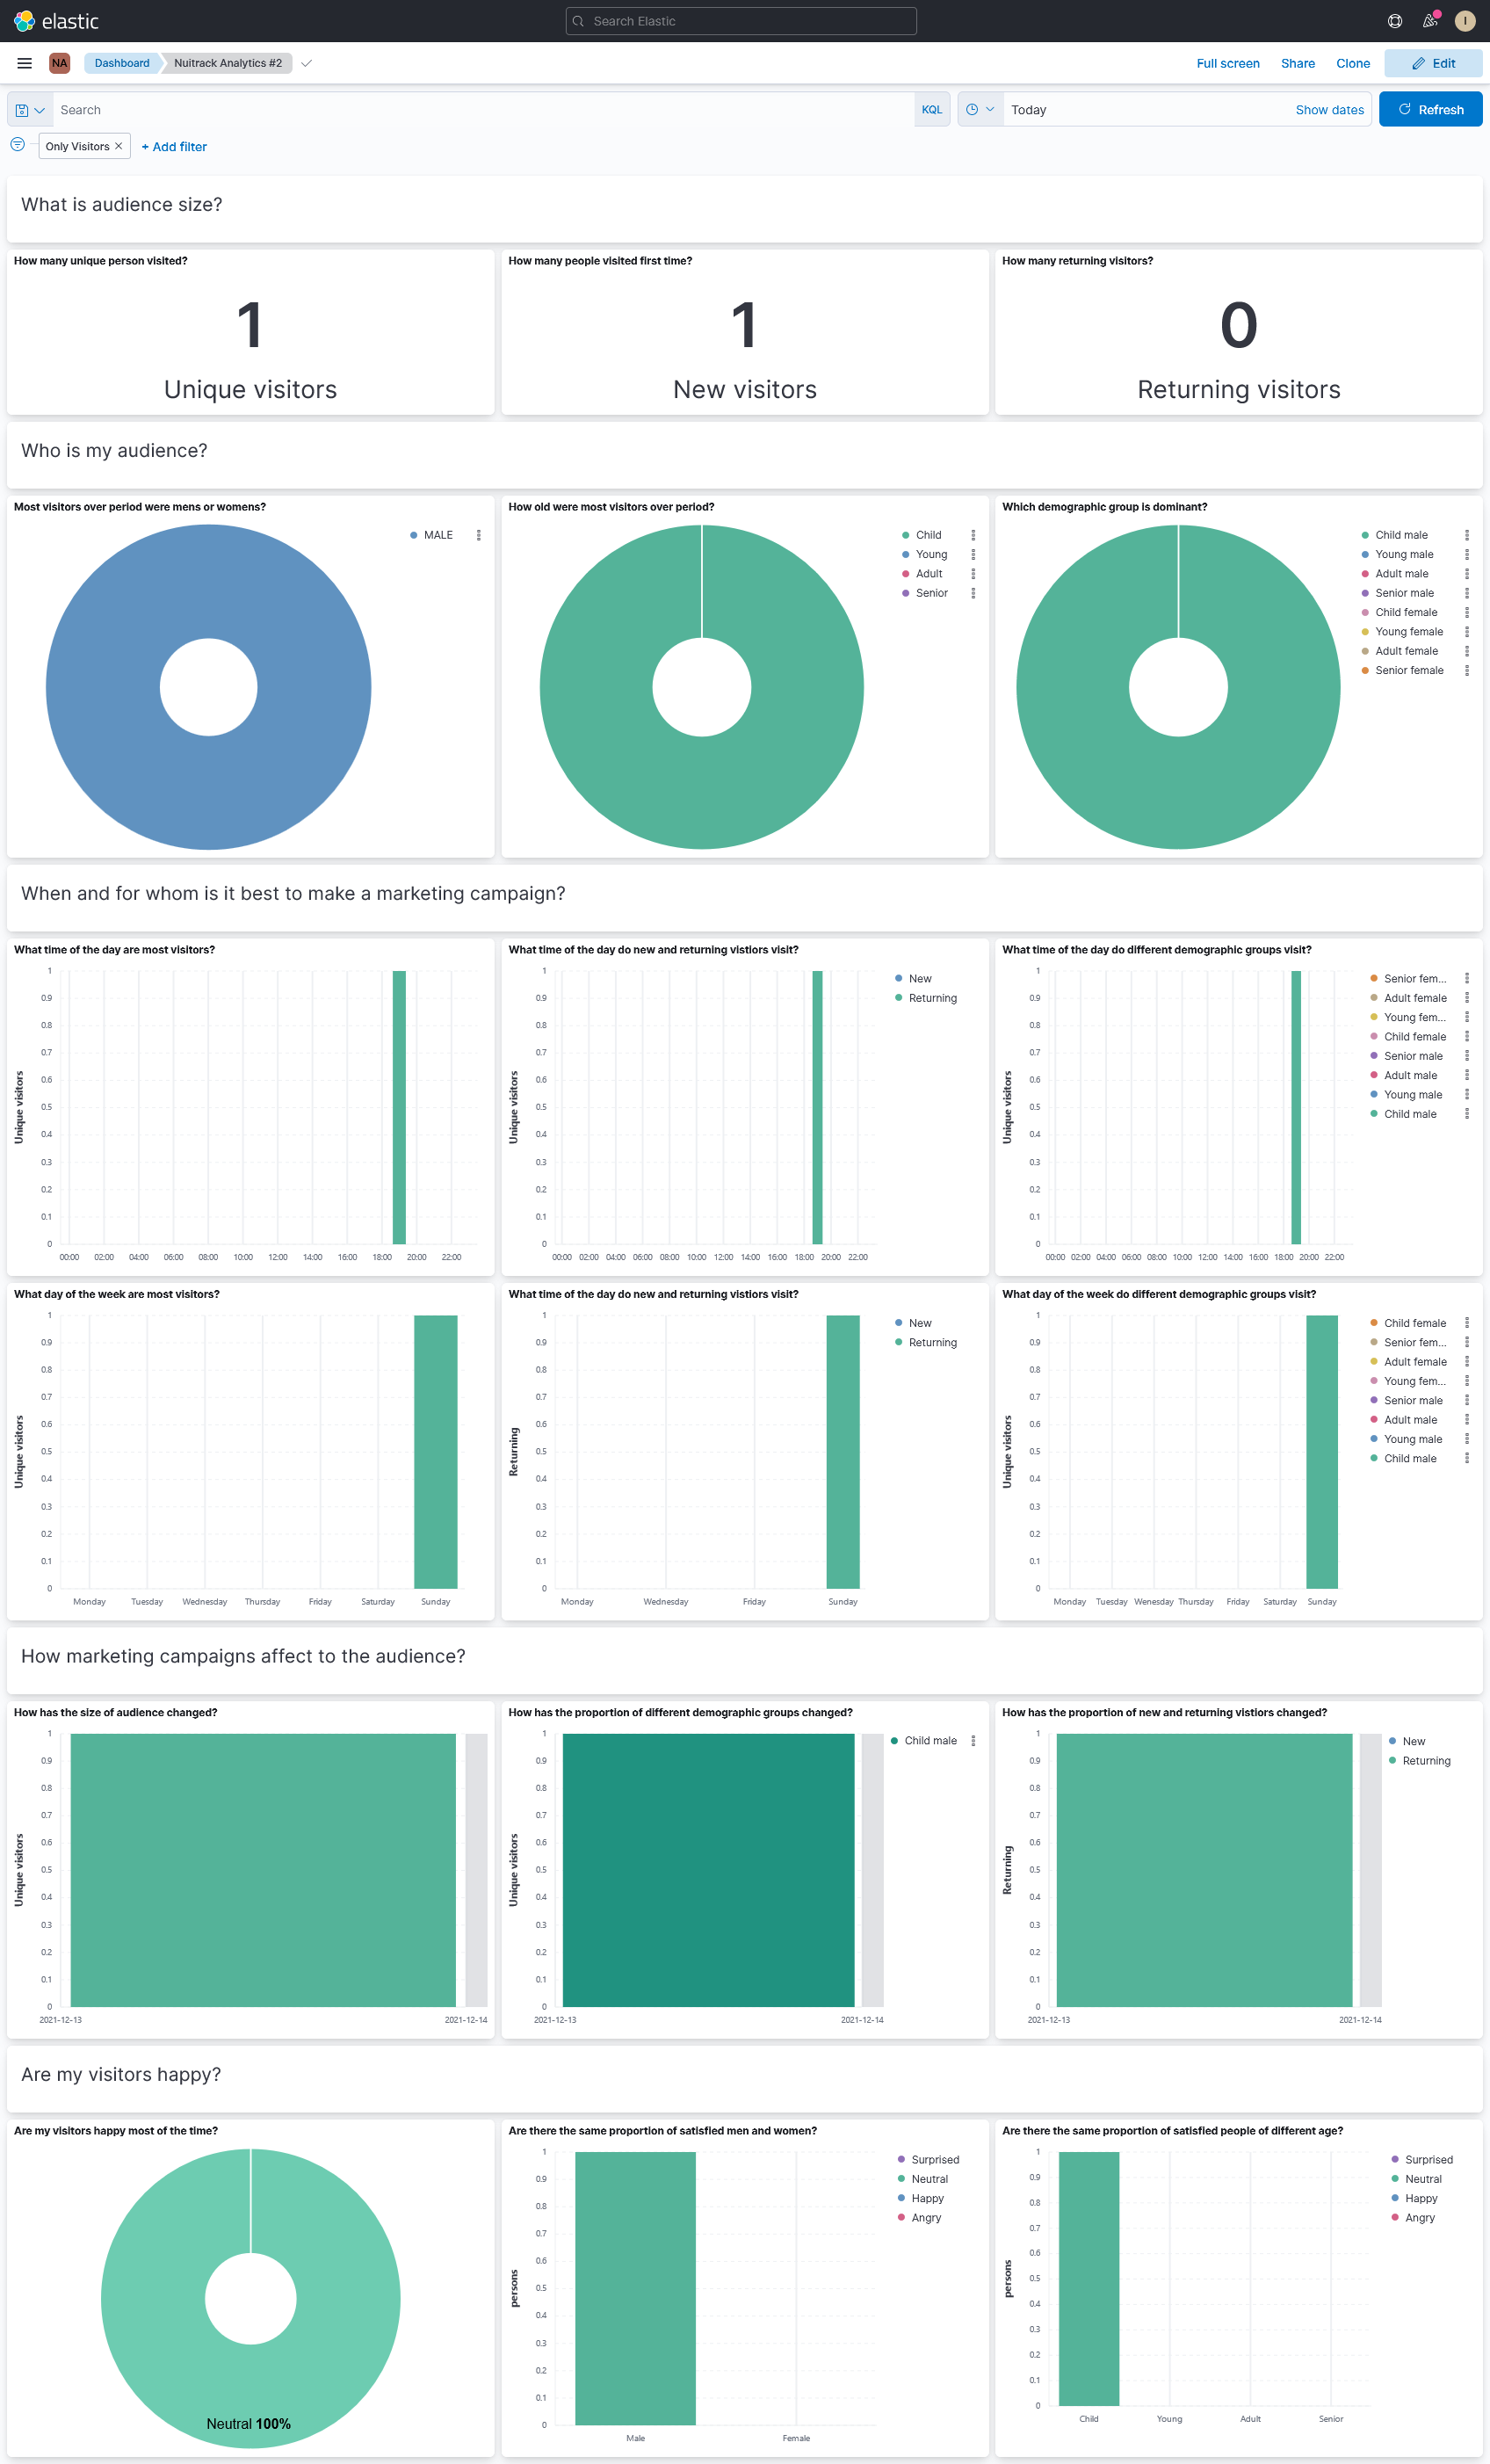
By default the charts display the data for the last 7 days. To set custom time range, click
.
In this guide you learned how to get traffic analytics using your camera. Now you can connect additional cameras from your store to get business insights.